Police CyberAlarm FortiGate setup
Enable Police CyberAlarm access with these steps…
This is a 3 step process, the first showing how to set up Syslog for Cyber Alarm on FortiGate firewalls, the second will be showing you how to set up outbound NAT, step three will be showing you how to link the outbound NAT to a SurfProtect profile (You do not need to complete steps 2 and 3 if SurfProtect is not in use)
Step 1: Setting the SysLog server
- Log into the firewall by using either the local gateway i.e https://10.0.0.1 or the Public IP of the firewall i.e https://82.219.*.*
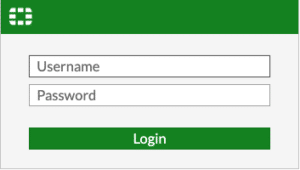
- Enter your log in details and this will take you to the Fortigate dashboard
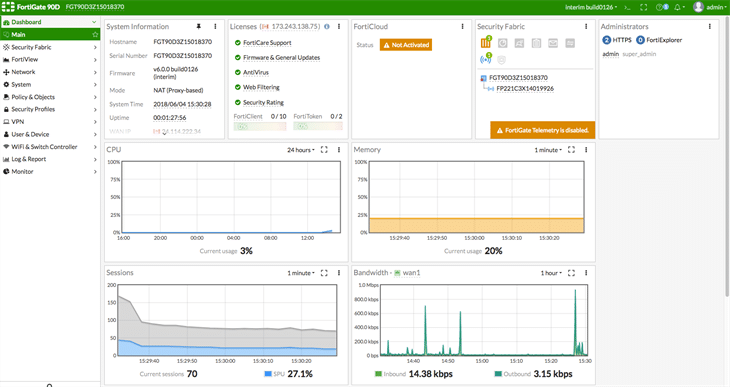
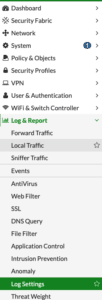
- Once there, navigate to ‘Log & Report’ and go to ‘Log Settings’
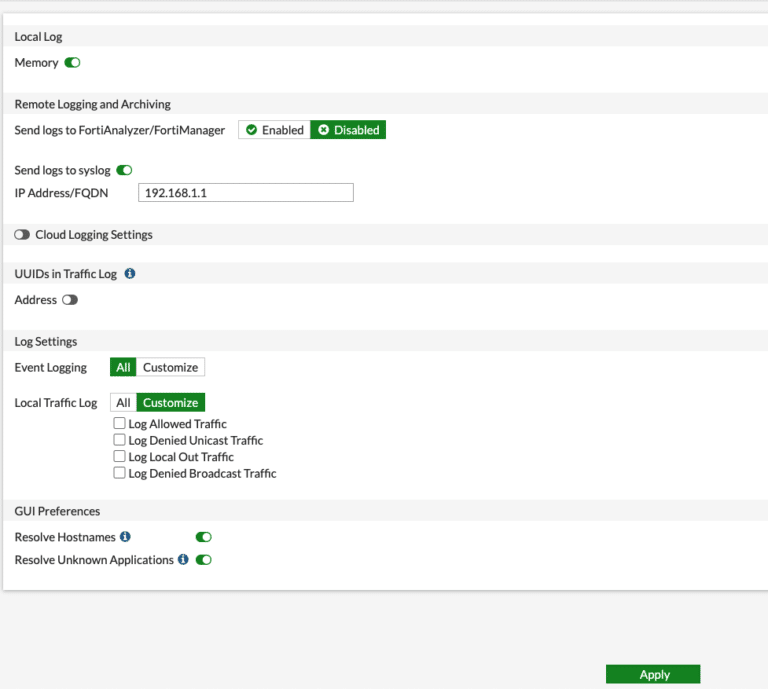
- Enable ‘Send logs to Syslog’ once enabled this will allow us to send the traffic to the Server you require, this can either be local IP of hosted locally or if Cloud-hosted can be the public IP of the server;
In this example, we are going to send this to a local server; i.e 192.168.1.1
- Once complete click ‘apply’ and logs should start generating and sending to the Syslog server.
Step 2: Setting up an outbound NAT
Once the SysLog has been set up, we need to do an outbound NAT. An outbound NAT means changing the WAN IP for one specific device so it is different to the WAN interface.
- On the Draytek Menu on the left hand side choose ‘WAN’ and ‘Internet Access’
- Depending on which WAN port is used, go into it by clicking on ‘Internet Access’. When you are on the next page find ‘WAN IP Alias’ and click it.
- Name: A good format we follow is NAT-82.219.*.*
- Type: Choose ‘Overload’
- External IP Range: This is the public IP address you will use when translating the internal IP/IP ranges to the public address/range.
- ARP Reply: Make sure ARP is enabled.

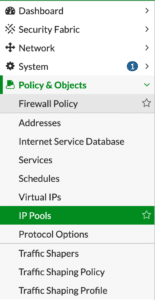
- Click on’Policy & Objects’ > ‘Addresses’ and click on ‘Create New’
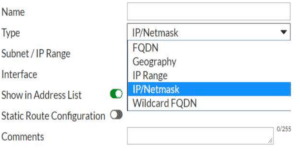
- Name: To easily identify the object we suggest specifying the internal IP or range for the name.
- Type: Use ‘IP/Netmask’ or ‘IP Range’ to specify a range of IP addresses for the outbound NAT.
- Subnet/IP range: Specify the range of IP addresses you are going to be implementing the outbound NAT on.
- Show in Address List: This is enabled by default and is required when we set the firewall rule up.
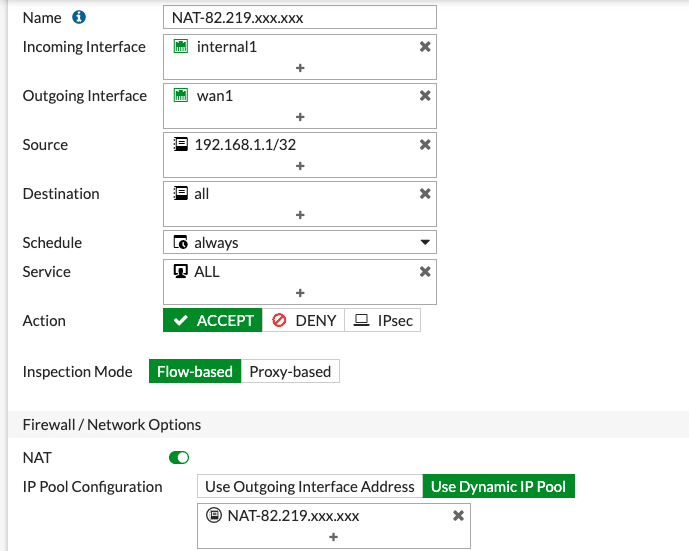
- Navigate to ‘Policy & Objects’ and click on ‘Firewall Policy’ then click on ‘Create New’
- Name: Name of the IPv4 policy. Best to name it ‘Outbound NAT IP Address’ (IP will change depending on what is used)
- Incoming Interface: Select the LAN interface used for this
- Outgoing Interface: Select the WAN interface. (this will always be the WAN port)
- Source: Select the address object that we’ve just created under Policy & Objects > Addresses
- Destination Address: Select ‘all’
- Schedule: Choose ‘always’.
- Service: Select ‘all’
- Action: Select ‘Accept’
- NAT: Enable ‘NAT’
- IP Pool Configuration: Select ‘Use Dynamic IP Pool’ and then select the IP pool object that you created.
- Enable this policy: Enable the policy.
Step 3: Creating a SurfProtect profile
Please skip this step if you are not using SurfProtect
We will need to setup a SurfProtect profile which has ‘HTTPS decryption disabled’.
- Firstly, go to https://surfprotectpanel.exa.net.uk and log into the SurfProtect panel:
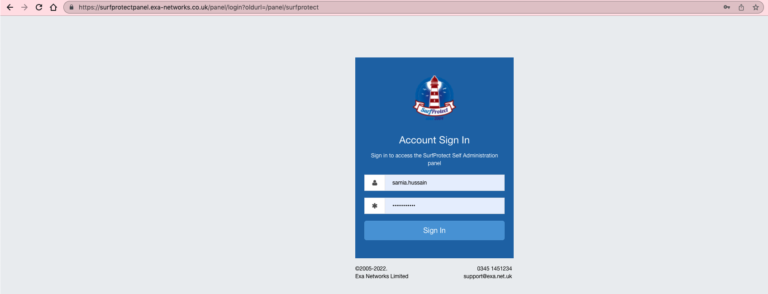
- Once logged in go into the profiles. This is done by clicking the blue eye next to the relevant location.
- You will see a list of profiles the school has created and the default profile. Where it says ‘Filtering profiles’ there will be a green + symbol, click on this.

- You will see a box labelled ‘Create new profile’ pop up, follow the onscreen instructions.
- The first thing to do is name the profile. This can be called ‘CyberAlarm’
- Click ‘Next’
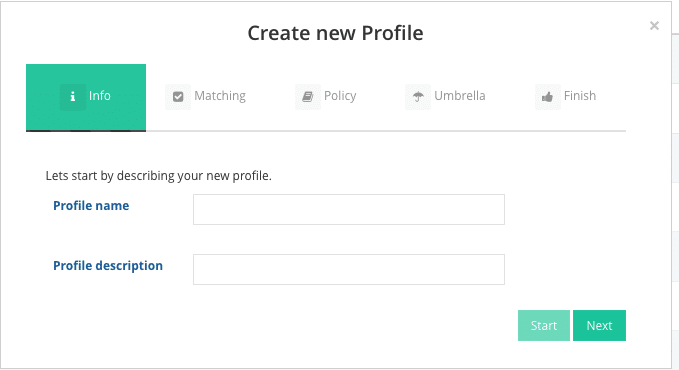
- You will need to configure the next bit which is ‘Matching’ here, pick the IP that we used in the 1-to-1 NAT.
- Carry on going through the onscreen instructions and create the profile.
- Once the profile has been created, go into it by clicking the ‘blue eye’ and looking towards the bottom of the page, it will say ‘Advanced Policy Setting’ and disabling the setting under there.
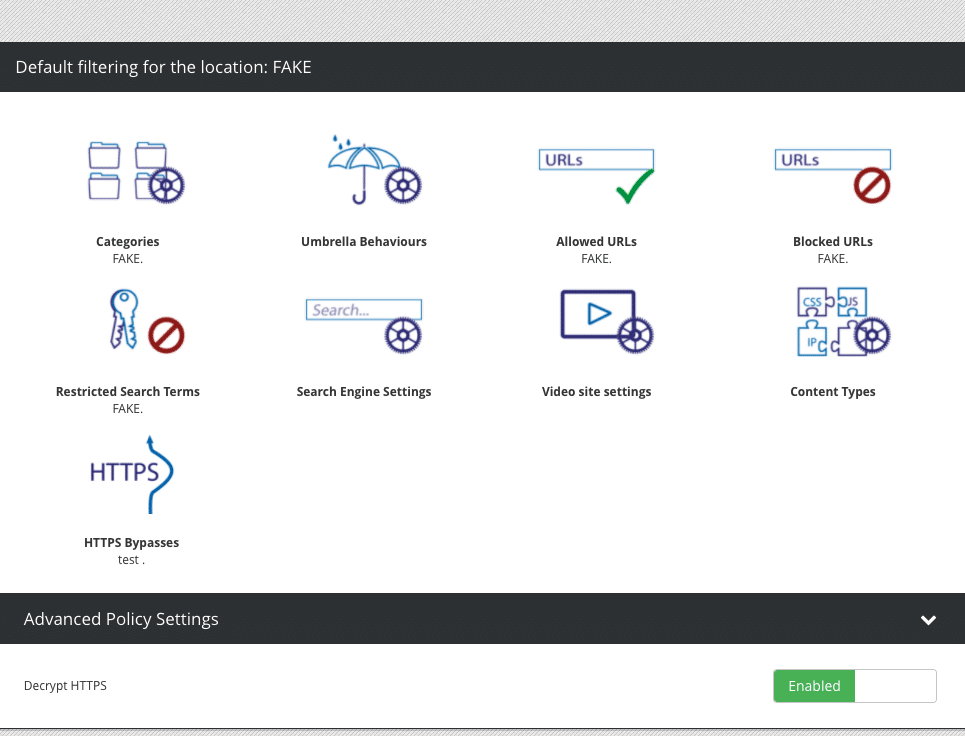
You should now be able to run Police CyberAlarm through your FortiGate Firewall.


